Setup POP/IMAP account in Outlook 2016 for PC
To set up additional POP/IMAP accounts in Outlook 2016
-
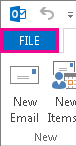
In Outlook, choose the File tab.
-
Under Account Information, choose Add Account.
-
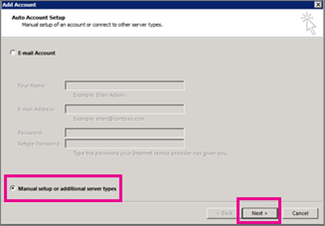
Use the Manual setup or additional server types option to set up your account
-
Choose Manual setup or additional server types > Next.
-
Choose POP or IMAP > Next.
-
Enter the following information.
-
Your name and email address
-
Account type: IMAP
-
Incoming mail server
-
Outgoing mail server
-
User Name: This is your full email address
-
Password
-
-
Choose More Settings > Outgoing Server and check the box for My outgoing server (SMTP) requires authentication.
-
On the Advanced tab, enter the information you received from your email provider or from the POP and IMAP server name reference topic. The most common settings are below.
-
Incoming server (IMAP): 993
-
Use the following type of encrypted connection: SSL
-
Outgoing server (SMTP): 465 or 587
-
Use the following type of encrypted connection: SSL or TLS
-
-
Choose OK > Next > Finish.